Bottle Cap Pull-Off Test for Cosmetic Overcaps: A Buyer’s Guide
A bottle cap pull-off test measures the force needed to remove a cap by pulling it from a specified bottle assembly. For a cosmetic pump overcap, the useful result is not just a peak in newtons: the report must identify the bottle, pump…
A bottle cap pull-off test measures the force needed to remove a cap by pulling it from a specified bottle assembly. For a cosmetic pump overcap, the useful result is not just a peak in newtons: the report must identify the bottle, pump, collar and cap, the gripping method, and whether the reading is a first removal or a later cycle. Agree the acceptance limits for that particular pack before testing.
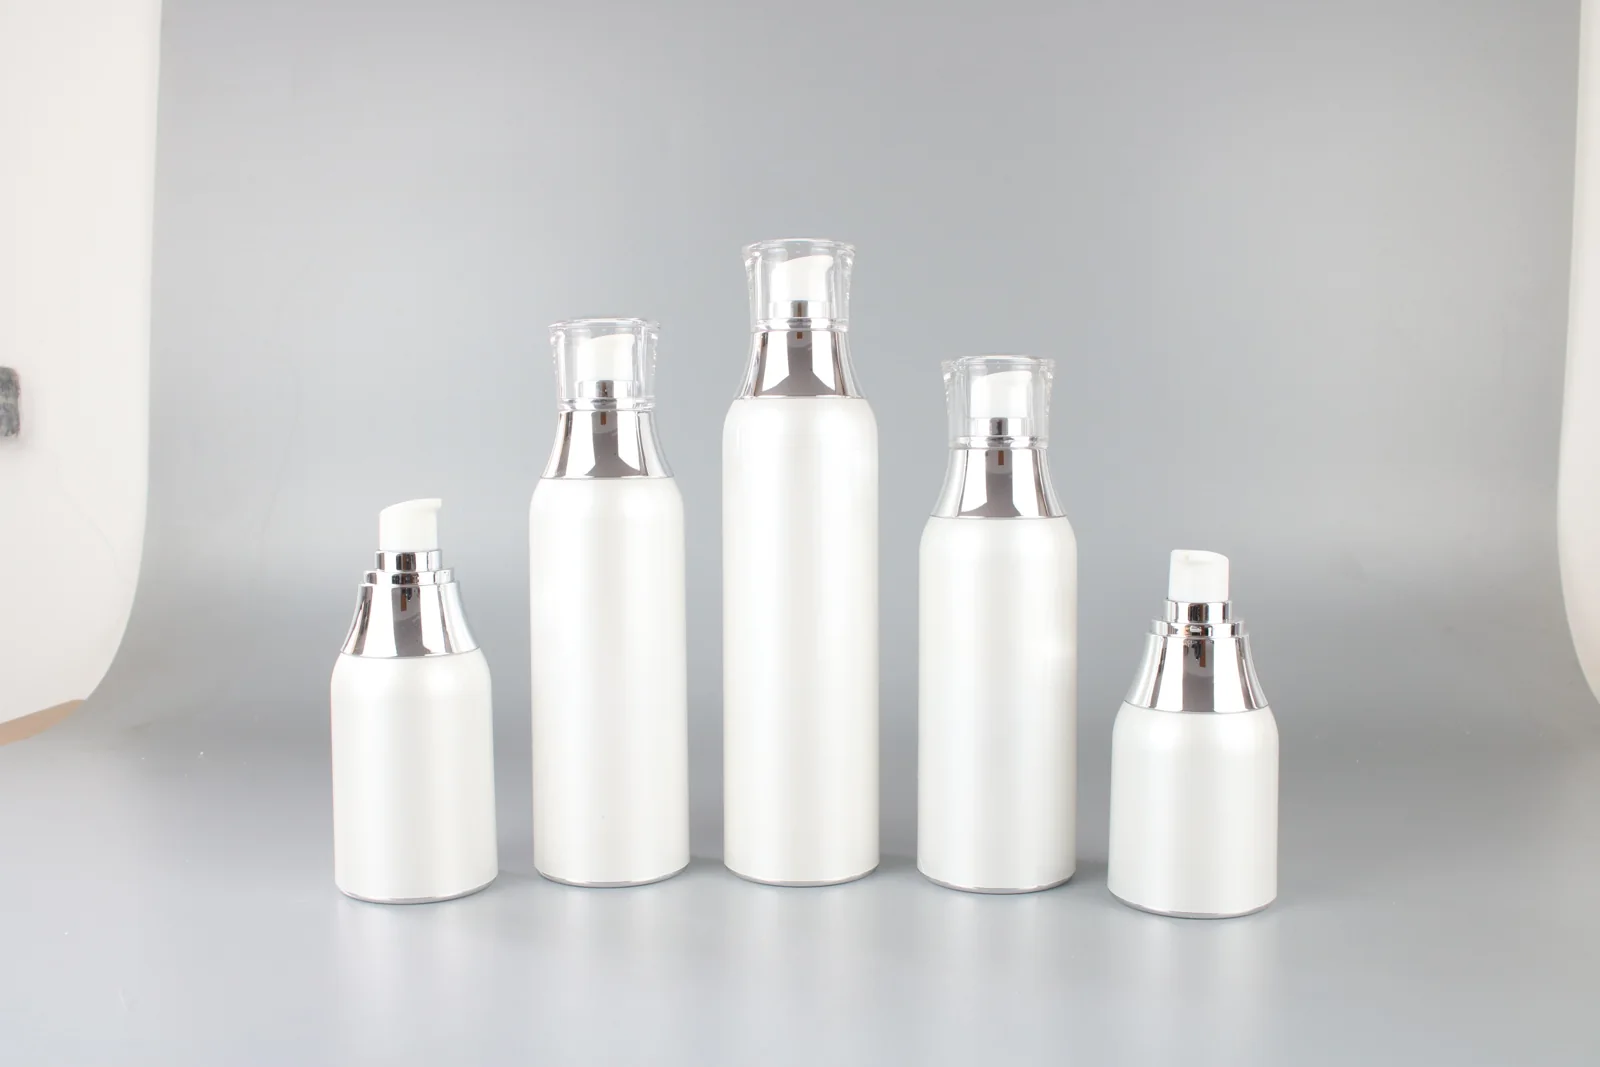
Historical Oulete-supplied bottle samples shown as an appearance reference. The photograph does not identify the cap attachment, a current model, or a pull-off test result.
Choose the test for the closure movement
Start by describing what the user removes. This guide covers an entire overcap pulled from a cosmetic dispenser, generally along its chosen removal axis. A flip-top lid remains attached and pivots when its tab is lifted; a threaded cap opens by rotation. Their force or torque results are not interchangeable.
For example, Mark-10's G1104 fixture engages a flip-cap tab. It illustrates a different opening action from gripping and removing a whole cosmetic overcap. For screw closures, compare the cap torque report guide instead. A pump travel lock is also separate: it controls actuator movement, while the overcap may protect the actuator and provide an additional handling interface. See the pump travel-lock guide.
How to perform an overcap pull-off test
The following is a planning sequence for the buyer, filler and laboratory to adapt to a specific pack, not a certified method or an Oulete test protocol. Agree the equipment, method, sample plan, conditions and decision limits with the laboratory before commissioning the work.
Identify and prepare the assembly. Record bottle, pump, collar and overcap references, drawing revisions, finishes and lot identifiers where available. Note whether the pack is filled or empty, how the cap was fitted, and whether it has ever been removed. Label each specimen.
Define the cohorts. Reserve previously unopened specimens for first-removal checks. Assign separate specimens to repeated opening or to storage and handling conditions when those questions matter. Record the condition and history of each cohort; repeated cycles on one specimen are not independent first openings.
Hold the bottle and select the cap grip. Secure the assembly at a documented location so the pull tests the intended cap-to-collar interface. Select a grip that contacts the cap without crushing it, slipping, damaging the finish or pulling directly on the actuator. A hook, clamp or custom fixture may suit different geometries; confirm fit on the actual sample rather than assuming one attachment fits all.
Set alignment and travel. Define the pull direction, grip position, test speed, travel and endpoint in the agreed protocol. Align the force path with the intended removal direction. Document any offset or tilt rather than comparing it silently with an axial setup. Use equipment appropriate to the expected load and retain its applicable calibration information.
Record the event. Capture force against displacement or time, the peak and the event at which it occurred. Observe whether the cap releases fully, the fixture slips, the pump moves, or a part distorts. Save the raw trace and specimen observation, not just a single rounded peak.
Repeat only as the plan specifies. For a cycling study, record the fitting and removal sequence and each specimen's cycle count. Separately record insertion and removal results; do not assume the two peaks are equivalent. If a specimen or fixture changes, identify it in the report.
Review against the agreed decision. Compare like-for-like specimens and test conditions with the project's agreed limits, then document disposition and who approves it. A laboratory peak does not by itself establish comfortable consumer use, distribution retention, liquid sealing or formula compatibility.
IMADA's own overcap example shows repeated insertion and removal with force graphs overlaid across cycles. It is useful for understanding the record to request; the equipment and method are IMADA's example and are not evidence of an Oulete test or a universal pass limit. Hegewald & Peschke separately identifies bottle-cover pull-off and bottle torque applications.
Read a pull-off force curve and investigate a change
A maximum load can occur before full separation. Look at the trace and the test observation together: a sharp peak may coincide with an engagement releasing, but an off-axis grip, slipping fixture or a moving pump can also affect the reading. If the report has a peak but no trace or description of separation, ask the laboratory to clarify what the peak represents before treating it as cap retention force.
Illustrative example, not measured data: one hypothetical cap produces removal peaks of 9 N on its first removal and 5 N on cycle 10, using the documented setup. The difference is 4 N; 4 ÷ 9 × 100 is approximately 44%. That is a change for one assumed specimen and sequence, not a production-lot result, acceptance limit or evidence that the cap wore out.
Suppose a scuff is also visible. First inspect whether the grip slipped or marked the finish; then inspect the cap and collar engagement for distortion or damage. Check that the collar, bottle and fixture did not move. Preserve the original trace and photographs, and ask the laboratory to repeat or extend the work only under an agreed plan. Do not discard inconvenient data or label the pack a failure before checking the fixture and the decision criteria.
Averages alone can hide an individual low or high reading. Request individual results, the specimen IDs, cycle numbers and relevant observations alongside any summary. For comparisons between two suppliers, check the exact assembly, sample state, history, conditioning, grip, direction, speed and endpoint. If any of these differ, the peaks are not a controlled comparison until the technical teams assess the difference.
What should a cap retention test report contain?
A purchasing team should be able to connect each result to a physical sample and an approved method. Ask for these fields before accepting a report:
Sample identity: complete bottle, pump, collar and overcap references; drawing revisions, finish and lot where available; filled or empty state.
Preparation: fitting method, prior openings, sample group, conditioning and time or other conditions required by the project.
Test setup: instrument and applicable calibration record, cap and bottle gripping locations, alignment, direction, speed, travel and endpoint; identify the actual method used.
Results: individual specimen and cycle identifiers, insertion and removal peaks with units, force curves, full-separation observation and any damage or deviations.
Decision: the project-specific limits, who approved them, the actual result against those limits, and the owner of any open discrepancy.
Do not copy a threshold from another cap as a specification. A suitable range has competing requirements: retain the overcap during the handling scenario while allowing the intended user to remove it. Agree the limits, specimen plan and related handling or distribution checks for the chosen assembly with the responsible technical teams. A pull-off result is not a leak-test result.
Use the report when comparing quotations
When bottle, pump and cap come from different suppliers, name who will supply the complete assembled sample, who will establish the method, and who will decide acceptance. Ask whether the quote includes the overcap, sample assembly and test documentation. A price for a loose cap is not directly comparable to a price for a matched assembly and its testing.
Identify changes after approval: a revised cap, collar, surface finish, component supplier or assembly process can affect the interface. Record the change and agree with the technical owner whether the previous report still represents the proposed supply and what verification must be repeated. Do not infer that a visually similar replacement is equivalent.
Send a concise request with the actual project details:
“Please quote the bottle, pump, collar and overcap identified in the attached drawing or sample. Identify each component and revision, how the overcap engages, and what is included in the quote. We need a report for [first removal / repeated use / specified conditioning] on the proposed assembly. Please state the fixture and grip locations, direction, speed, sample history, individual peak results and force traces, and any observed damage. Our acceptance criteria are [attached / to be agreed]. Please identify missing information and the party responsible for the test.”
Questions about bottle cap pull-off testing
Is there one acceptable pull-off force for every cosmetic cap?
No. Acceptance is specific to the assembly, intended user, handling scenario and agreed project method. A number copied from an unrelated cap does not establish acceptance for the proposed pack.
Does an overcap removal test replace a leak test?
No. Overcap retention and liquid sealing answer different questions. Plan the relevant filled-pack checks separately.
Can I compare a flip-top opening force with an overcap pull-off force?
Not as the same measurement. A flip-top tab pivots; an overcap is removed from the assembly. Their fixtures, motion and endpoints differ.
What if the cap becomes easier to remove after repeated use?
Review the actual cycle record and trace, check the fixture and engagement for damage or movement, and compare the result with the agreed repeated-use criteria. The cause cannot be established from the peak alone.
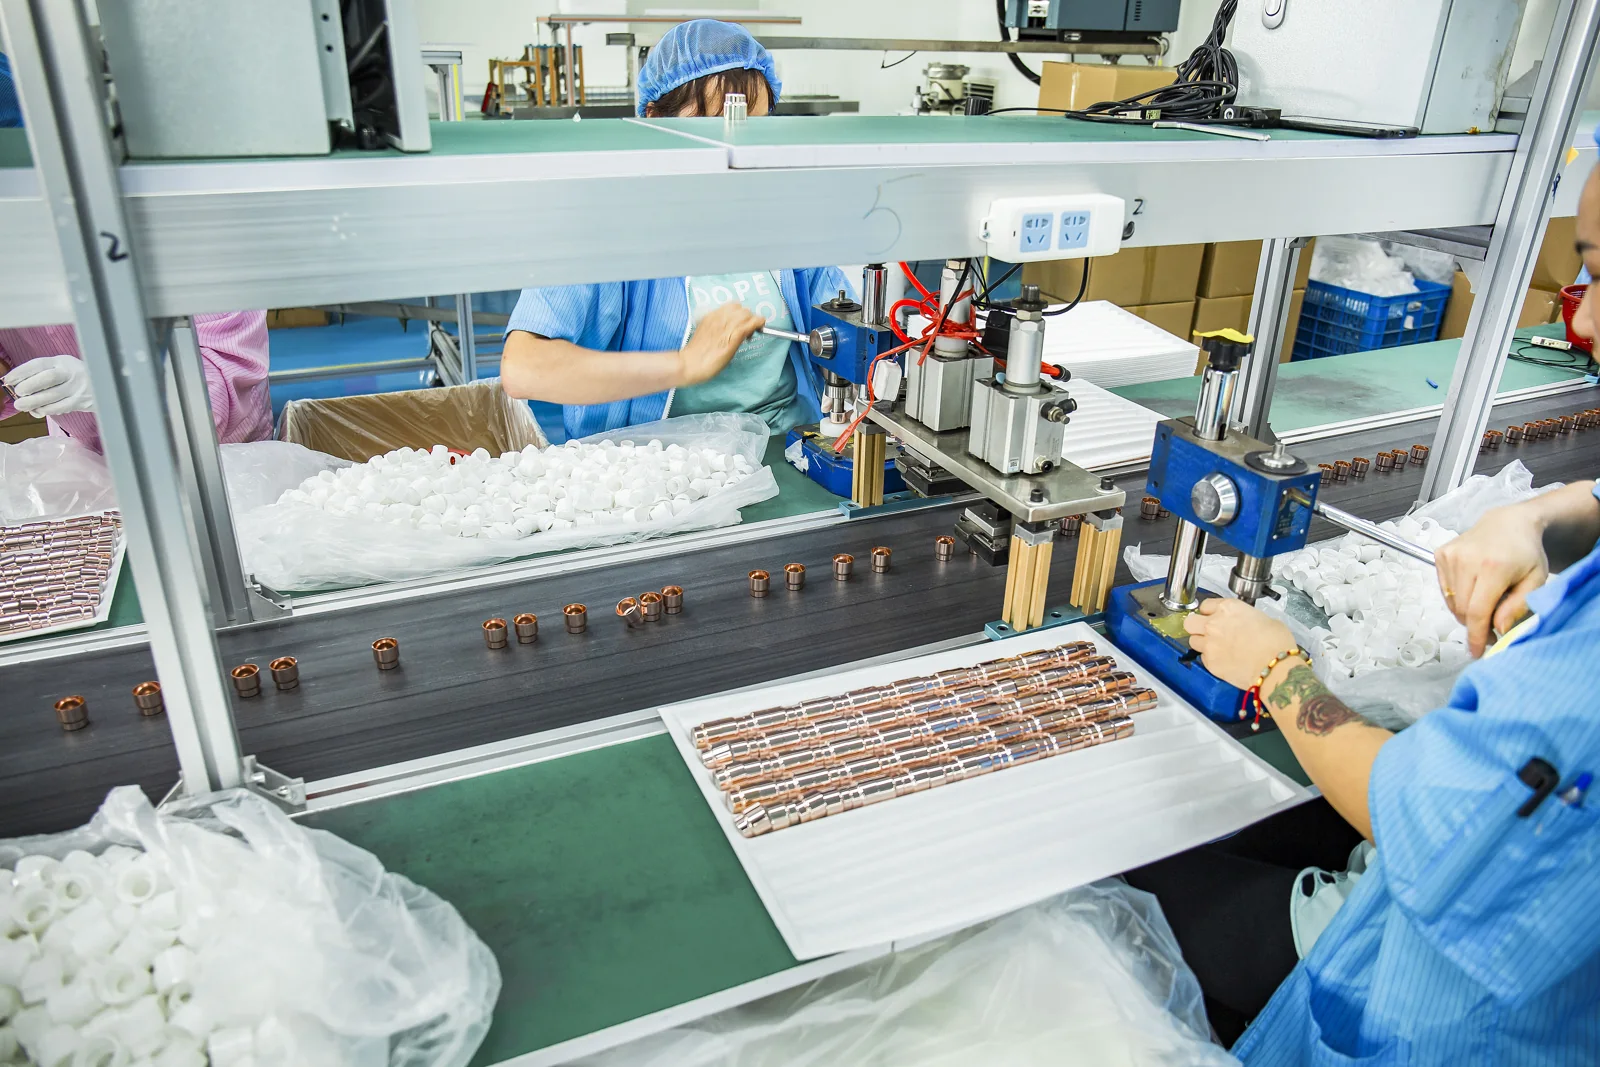
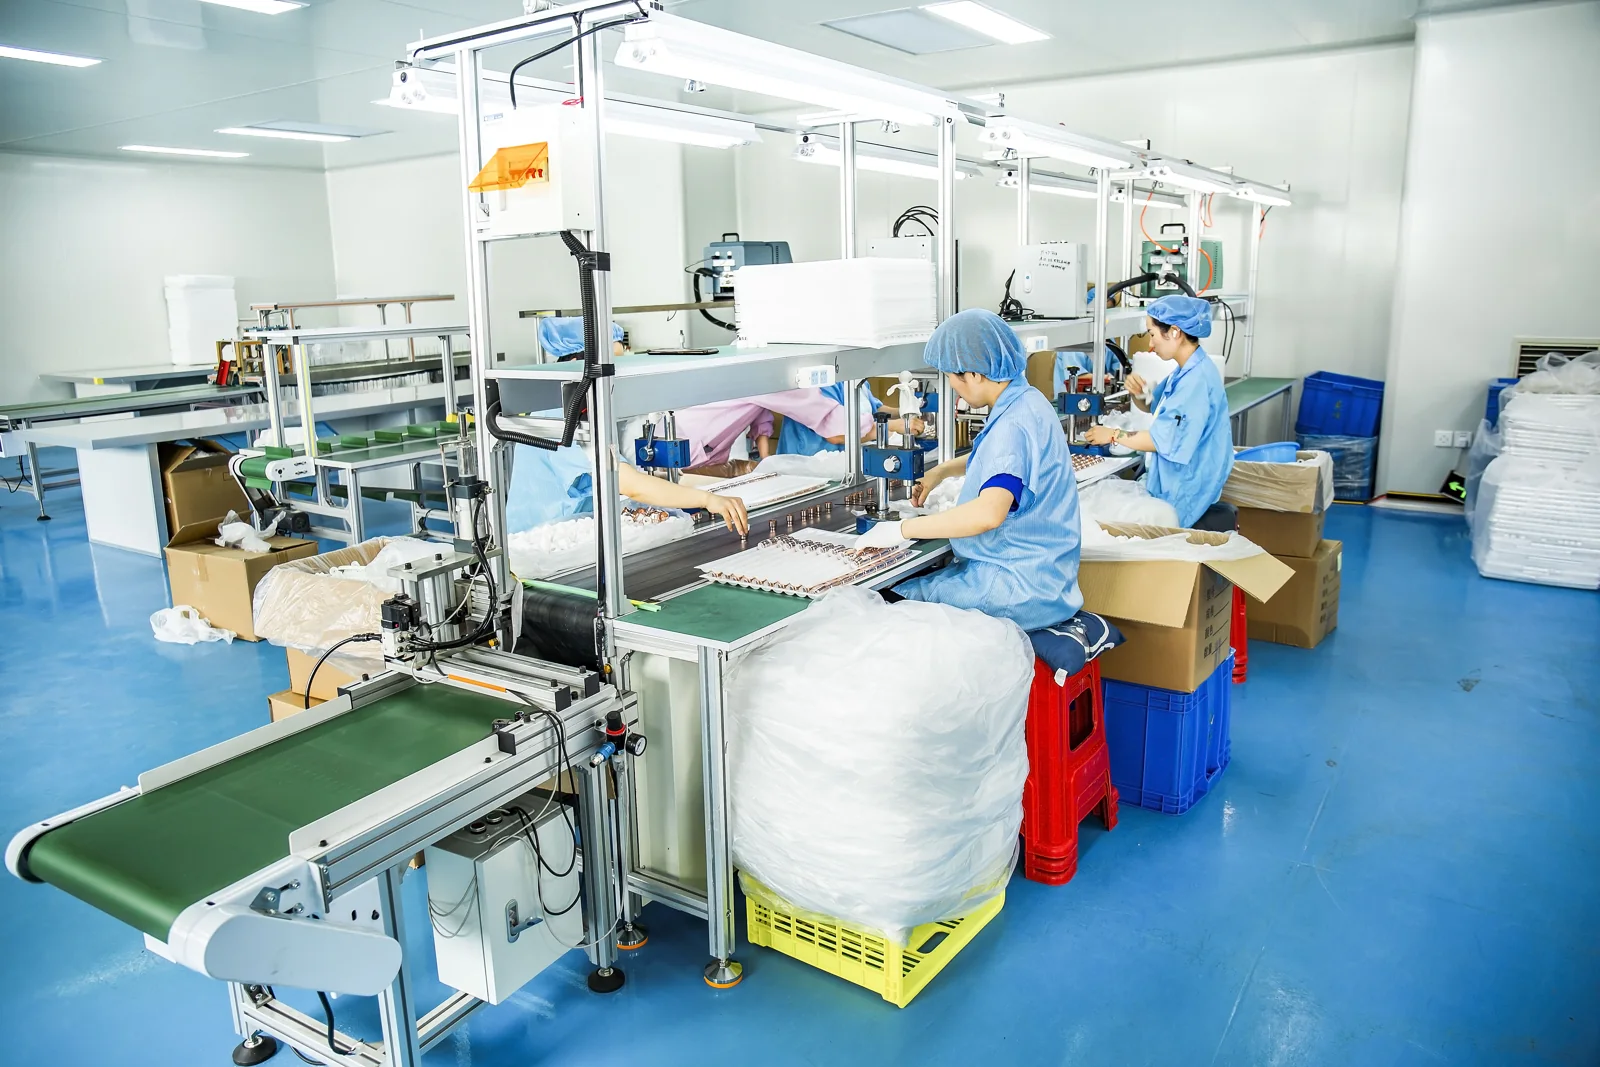
Photographed at Oulete
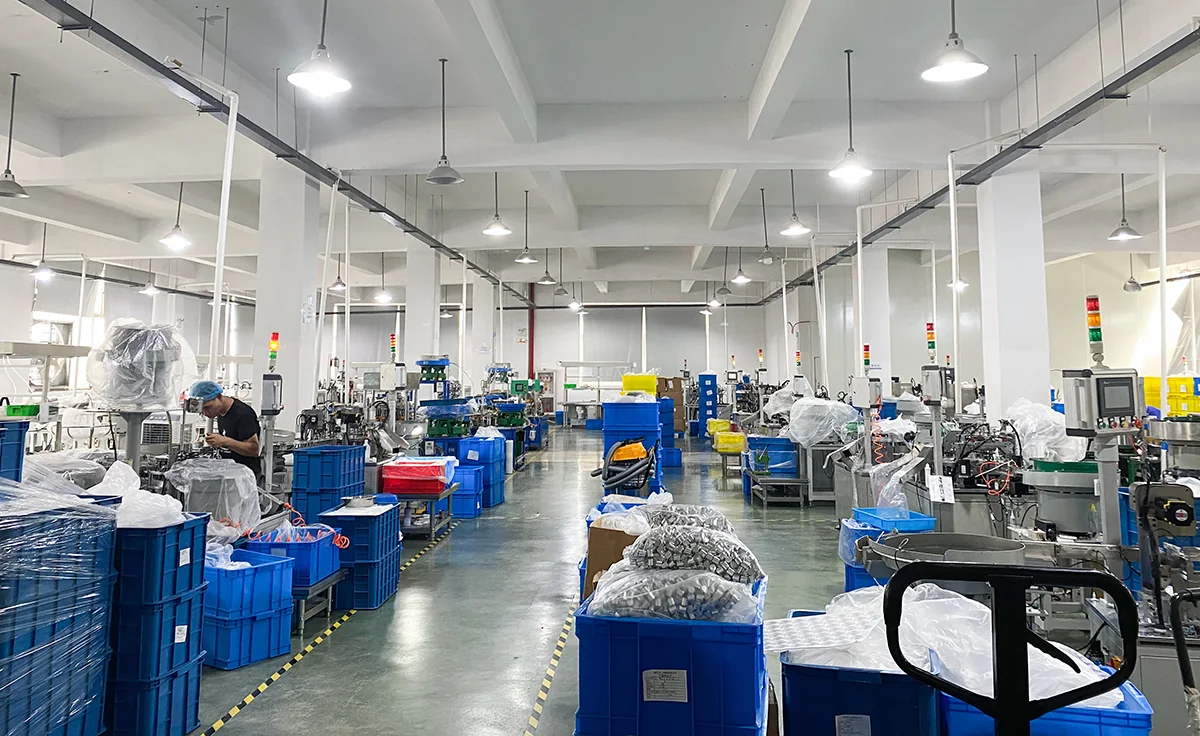
Assembly workstations in the factory
See the facility and visible operations behind a packaging enquiry. For your selected assembly, ask which steps apply and request the corresponding sample and inspection records.
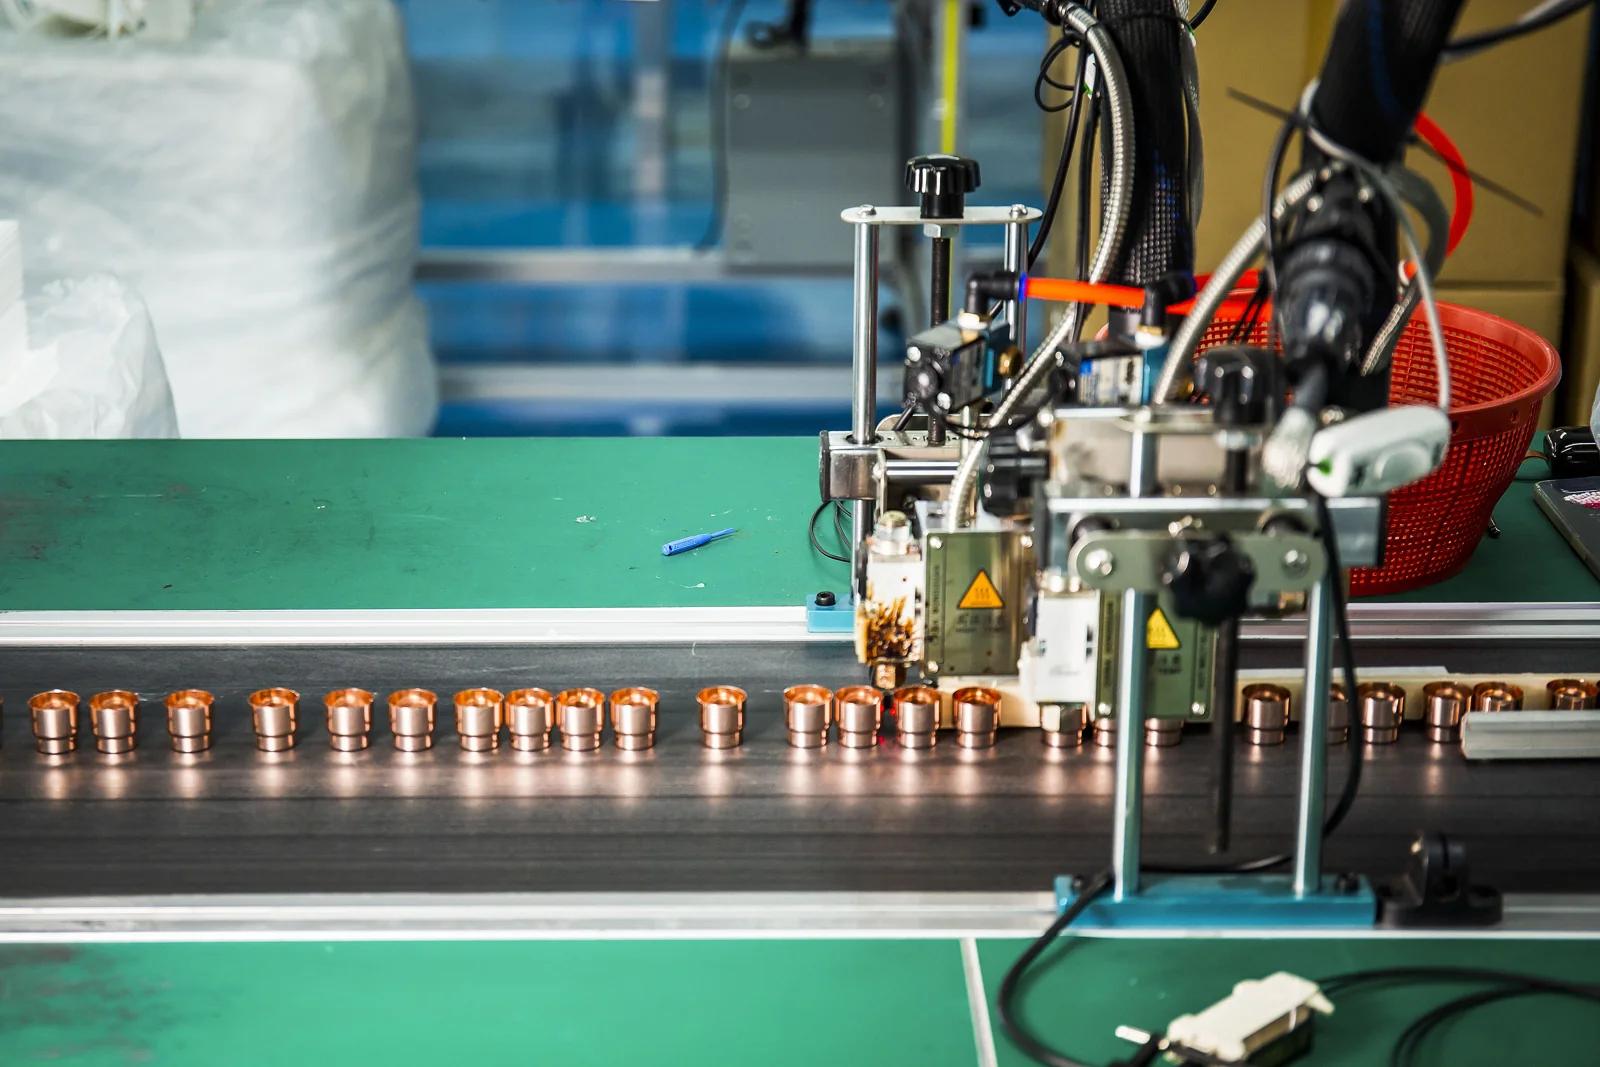
Operator's hands positioning a packaging component at an assembly fixture.Cosmetic packaging assembly workstation with components beside the equipment.Assembly fixture beside a factory conveyor.Wide view of the Oulete packaging assembly workshop.
Research with AI
Paste this prompt into your assistant. Check its answer against the page and the approved packaging specification.