Cosmetic packaging · Made for your brand
How to Measure Color on Opaque Cosmetic Bottles
Assess curved bottle color readings using aperture, illumination area, SCI/SCE and backing. Separate material comparison from finished-pack approval.
Containers only — no compounding or filling.
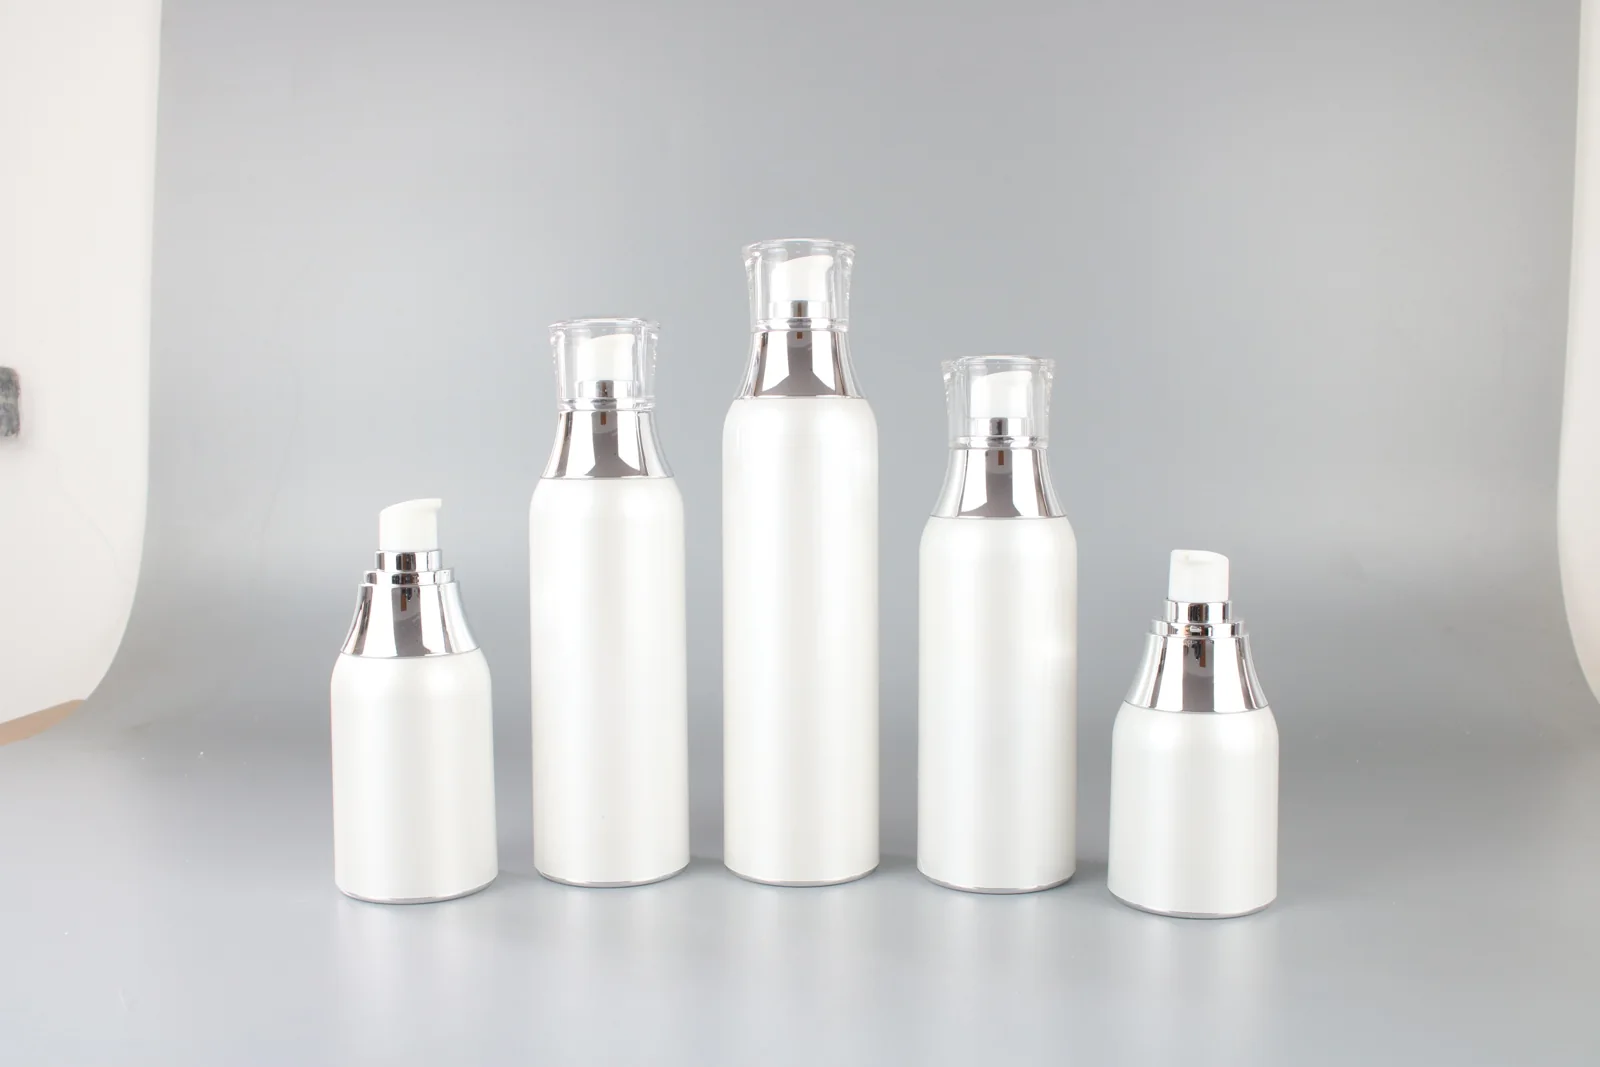
Five white Oulete pump-bottle samples with silver-finish collars
On this page · 6 sections
- Start with the finished surface you intend to approve
- Check whether the curved bottle can actually be presented
- Measurement diameter is not illumination diameter
- Decide what SCI and SCE are being used to compare
- Confirm whether the backing is influencing the reading
- Turn the result into a limited purchasing decision
To measure the color of an opaque cosmetic bottle, first establish that the finished surface can be presented consistently to the instrument. Then compare the sample and reference using the same measurement location, geometry, aperture, specular mode and any required backing. A color-difference number cannot approve a bottle if the method changes between the reference and the production sample.
For a buyer, the important question is often more basic than “What is the ΔE?” It is: “What surface did you measure, and could you put a second bottle in the same position?” A flat resin plaque, a curved molded wall and a sprayed finished bottle may all belong to one packaging project. They provide different evidence.
This guide concerns ordinary, single-color surfaces intended to be opaque. Transparent packs, metallic finishes and pearlescent or other effect pigments need a method selected for their optical behavior. For choosing and retaining the approved physical reference, use our separate cosmetic bottle color-matching and approval guide.
Start with the finished surface you intend to approve
Ask the supplier to identify the specimen before discussing its result. Is it an undecorated molded bottle, a coated bottle, a printed area, or a flat material plaque? For a coated pack, a measurement of the uncoated resin cannot establish the color of the finished coating. A plaque may help control a material or process without reproducing the bottle’s wall, shape and finish.
For the bottle itself, choose and photograph the intended measurement zone. A smooth body panel is a different specimen location from a shoulder, an embossed logo or an area crossing a print edge. If the requirement is for the base color, keep decoration outside the measured zone. If the requirement is for the printed color, the method must address that printed area instead.
Consider the whole pack separately. A reading on one body panel does not approve every visible region, nor does it establish that the pump collar and bottle look right together. Record those as separate approval decisions rather than extending one favorable number to the assembly.
Check whether the curved bottle can actually be presented
A handheld instrument resting against a bottle is not, by itself, a demonstrated method. Ask for a photograph showing the actual part, instrument port, support and measurement position. Check whether the part rocks, whether the intended surface stays aligned, and whether a seam, edge or adjacent decoration enters the optical area.
X-Rite’s cylindrical-sample guidance describes a dedicated fixture that controls sample height and orientation. Its flat positioning arm can also let flexible specimens flatten during measurement. That detail matters: it is not evidence that a rigid coated bottle can be pressed flat without changing the specimen.
For a rigid bottle, have the instrument manufacturer or measurement provider assess the actual shape and presentation. Do not convert “we use a small aperture” into “this instrument fits this bottle.” The optical areas and the physical support both need attention.
Cutting a panel out of a bottle is also a change of specimen. If a prepared panel is proposed, document its preparation and what that result is intended to control. Do not silently substitute it for a finished-bottle reading or assume that a plaque and a curved part are interchangeable.
Measurement diameter is not illumination diameter
An instrument may illuminate a larger area than it measures. That distinction is easy to miss when a quotation or test sheet lists only “3 mm aperture.”
For a specific example, the Konica Minolta CM-700d/600d instruction manual lists these CM-700d optical diameters on printed page E-131:
| CM-700d setting | Measurement diameter | Illumination diameter |
|---|---|---|
| MAV | 8 mm | 11 mm |
| SAV | 3 mm | 6 mm |

The same manual, on E-129, requires the target mask to match the selected measurement area and says the instrument does not automatically detect which mask is attached. A setting on a report therefore needs to agree with the hardware used.
These are manufacturer-specific specifications, not Oulete equipment details or a minimum bottle diameter rule. An 11 mm illumination diameter does not tell you the complete contact footprint, and an 11 mm-wide visible patch does not prove that a curved specimen can be measured correctly. Request the actual setup before accepting the reading as finished-part evidence.
Decide what SCI and SCE are being used to compare
On suitable sphere instruments, SCI includes the specular component; SCE excludes it. Konica Minolta’s explanation of color and gloss distinguishes their responses to surface condition: SCI reduces the influence of finish when comparing color, while SCE is more sensitive to appearance differences associated with the surface.
For procurement, define the purpose before choosing a result. A material-color comparison may use SCI. A comparison intended to be more sensitive to the finished surface may use SCE alongside controlled visual assessment. Neither label alone establishes an appropriate method for a particular curved pack.
If a supplier provides both modes, retain them as separate comparisons against the corresponding reference readings. Do not compare an SCI sample result with an SCE reference result, or select whichever mode gives the smaller difference after seeing the data.
If SCI agrees more closely than SCE, that is a reason to investigate presentation and surface appearance; it does not, on its own, identify a coating defect. Neither mode approves gloss, texture, scratches, print registration or the whole assembled pack. Keep the required visual and surface checks explicit.
Confirm whether the backing is influencing the reading
A bottle can look solid white and still transmit enough light for the background to affect a reflectance measurement. HunterLab’s guidance on translucent samples illustrates how the same plastic plaque can appear and measure differently against white and black backings. Consistent backing is part of a comparable method when the sample is affected by it.
For a bottle wall with uncertain opacity, ask the measurement provider to assess backing dependence using an appropriate presentation. Do not invent an insert or flatten the wall merely to make a convenient reading. If backing affects the result, its identity and positioning belong in the method used for both the sample and reference.
A white backing does not make the material inherently opaque. Equally, a reflected-color comparison does not establish UV protection or protection of a light-sensitive formula. Those are separate performance questions.
Turn the result into a limited purchasing decision
Before releasing a color-dependent order, establish which of these outcomes the evidence supports:
- Material or process comparison only: the result comes from a plaque or prepared specimen, with no demonstrated relationship to the finished bottle. Retain that result for its stated purpose; request finished-part approval separately.
- A defined finished-part color comparison: the reference and bottle were measured using an agreed, repeatable presentation and the same relevant settings. Evaluate against the agreed color criterion, then complete the separate visual and surface checks.
- No comparable result yet: the surface, mask, mode, backing or specimen preparation differs or is unknown. Resolve that difference before applying a pass/fail limit. Averaging more readings does not repair an undefined comparison.
For an Oulete enquiry, send the intended bottle or sample identification, the finish you want and the approved physical reference if one exists. Include any existing color report. Ask the project team to confirm what specimen will be measured, where it will be measured and which approval decision the result is intended to support. Request a setup photograph and the actual instrument, geometry, aperture/mask, SCI/SCE mode, backing, illuminant/observer settings and color-difference formula before comparing numbers. The available measurement route and acceptance criteria need confirmation for the specific project.
If a sample looks correct but its report is incomplete, the next step is to resolve the method record. If the report agrees but the bottle looks wrong, retain the visible concern for investigation. A favorable number is useful evidence only within the comparison it actually describes.
Photographed at Oulete
A closer look at packaging components
See the facility and visible operations behind a packaging enquiry. For your selected assembly, ask which steps apply and request the corresponding sample and inspection records.